


How to Use a Machine Control Laser Receiver
Machine control systems are making a huge difference in the productivity and profitability of construction contractors. What used to take days can now be completed in hours, resulting in higher profit and customer satisfaction.
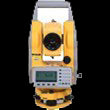
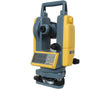
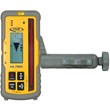
An integral part of a machine control system is the machine control laser receiver. It works like a normal laser receiver, except that it is designed specifically to work with construction machines. With the help of a machine control receiver, machine operators can check the grade right inside the cab without stepping out or the help of additional staff.
Machine Control Receivers: What You Need to Know
Accuracy Level
Different jobs need different levels of accuracy. For example, the accuracy you’d need for rough grading and final grading is going to be widely different. Most receivers have around three accuracies: fine, standard, and wide. Compare these levels across different models to ensure that you’re getting the accuracy you need for different tasks.
Mounting Options
Machine control receivers are meant to be mounted on various kinds of machines including skid steers, dozers, excavators, and backhoes. These receivers can also be mounted on special masts that are placed at the front of the equipment. Many models come with different mounting options such as magnets or clamps. Magnet mounting is popular because it’s easy and quick to use.
Detection Window
Some receivers can detect lasers from a full 360⁰ while some have a detection window of 240⁰. The latter is the more affordable option and is ideal for smaller machines.

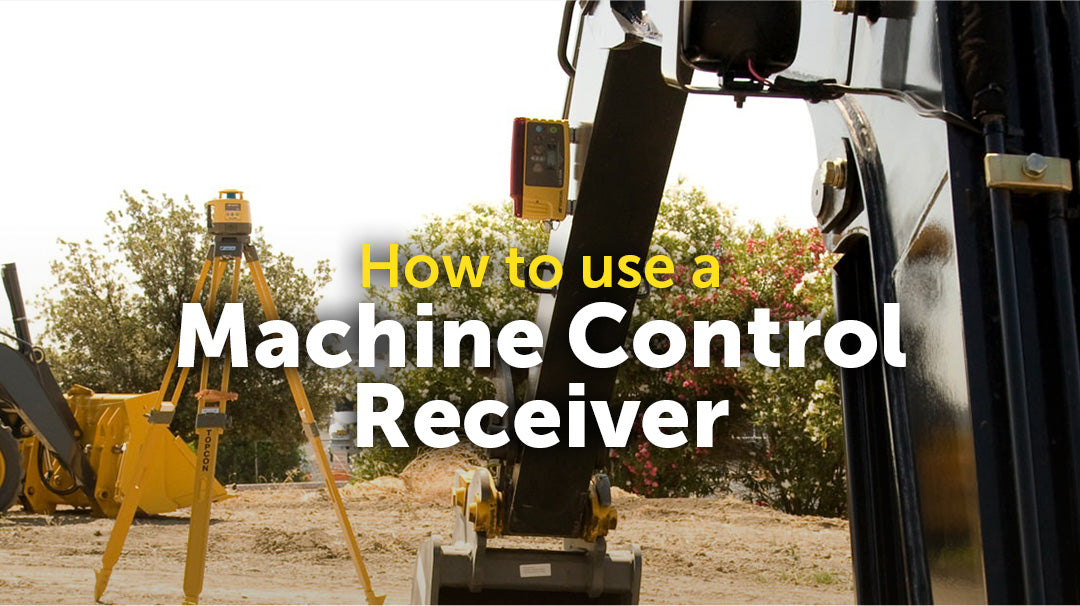
How to Use a Machine Control Laser Receiver in a Laser-Based Display System
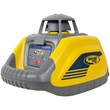
A laser-based display system is a simple and convenient system that provides accurate guidance to machine operators so they can level and grade with accuracy and speed. For the most part, this system consists of two main pieces of equipment: a laser level and a machine control receiver. While the rotary laser provides a reference plane, the receiver, which is attached to the machine, gives real-time on, above, and below grade signals.

- Set up the rotary laser. This will emit a reference plane that the laser receiver can detect as the machine moves across the job site. If you need to work with a slope, manually or automatically operate the rotary laser to match the required slope/grade.
- Attach the machine control receiver on the front of the machine. You can do this either by a magnetic mount or a mast.
- Set the blade on the reference stake or benchmark to get the desired elevation.
- Adjust the receiver or the mast until you get an ON-GRADE signal. The machine is now ready to operate.
- Operate the machine and refer to the receiver for grade position guidance. Most models come with a large, clear display indicating on-, above-, and below-grade, allowing you to maintain an ON-GRADE signal from inside the cab.

This system eliminates the need for an assistant to periodically check grade with a grade rod and a laser while you stop operating the machine, saving time and manpower simultaneously. This will also keep you safe from trenches, and keep other staff safely away from machinery.

How to Use a Machine Control Receiver in a Grade Control System
1. Set up the rotary laser. This will emit a reference plane that the laser receiver can detect as the machine moves across the job site. If you need to work with a slope, manually or automatically operate the rotary laser to match the required slope/grade.
2. Mount the control box on your machine within the operator’s reach. Most control boxes come with a standard mount or a suction mount. Make sure it is stable and won’t fall off.
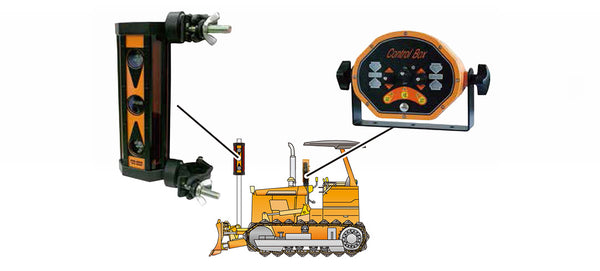
3. Attach the receiver cable, power valve cable, and remote auto/manual raise/lower switch to the control box. It’s best to have a control box where these cables can be attached to the bottom of the box to keep it from getting in your way during operation.
4. Install the receiver mast on the box blade. Once that’s done, securely mount the receiver at the top of the mast.
5. Connect the receiver cable to the receiver adapter cable. Then connect the receiver cable to the receiver. Wrap the receiver cable around the mast to avoid swinging during operation.

6. Move the receiver by adjusting the mast up and down until the receiver signals a laser hit. Lock the mast into place by tightening the clamp.
7. Insert the fuse to get power to the control system.
8. Power up the control box. Do the necessary configurations to operate. Please refer to the user manual of your unit to find out how to calibrate the control box.
9. Using the control box, find the on-grade position. Various models will have different mechanisms to do this. If unsure, please refer to the user manual.
10. The automatic grade control system is now ready to go. You can start driving the machine around and stay on-grade automatically.